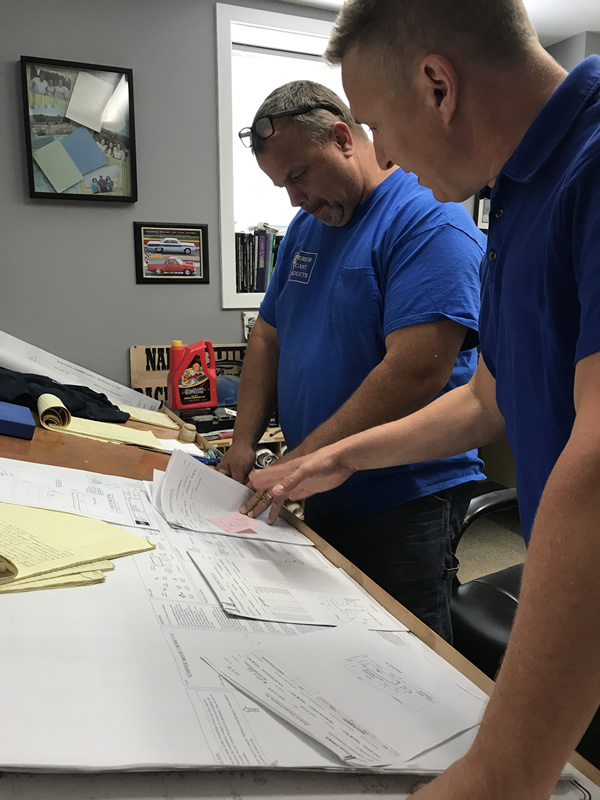
1. Brian Nap, Plant Manager, and Brian Bronkema, Sales Manager, review drawings.
|

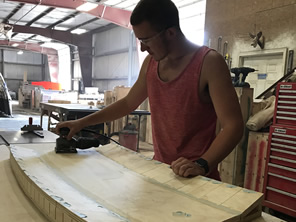
2. Jason Wood creates shop drawings from architectural drawings. |

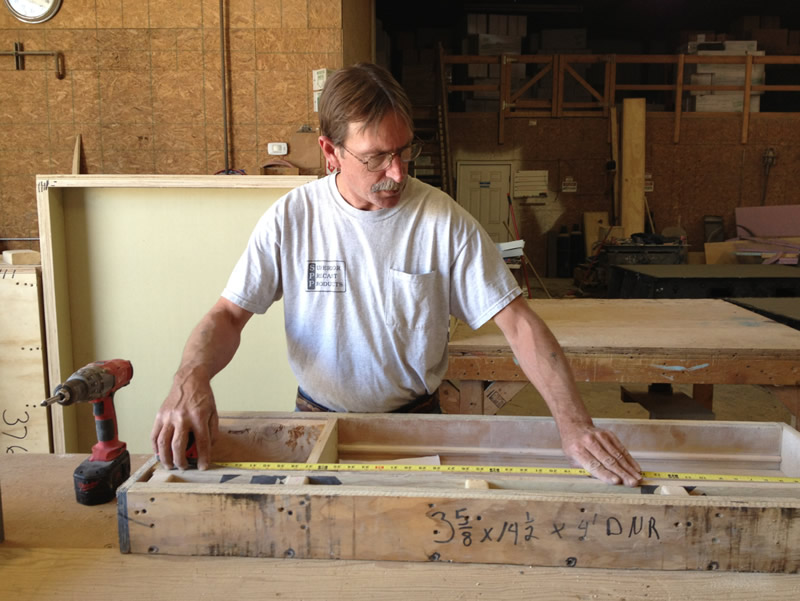
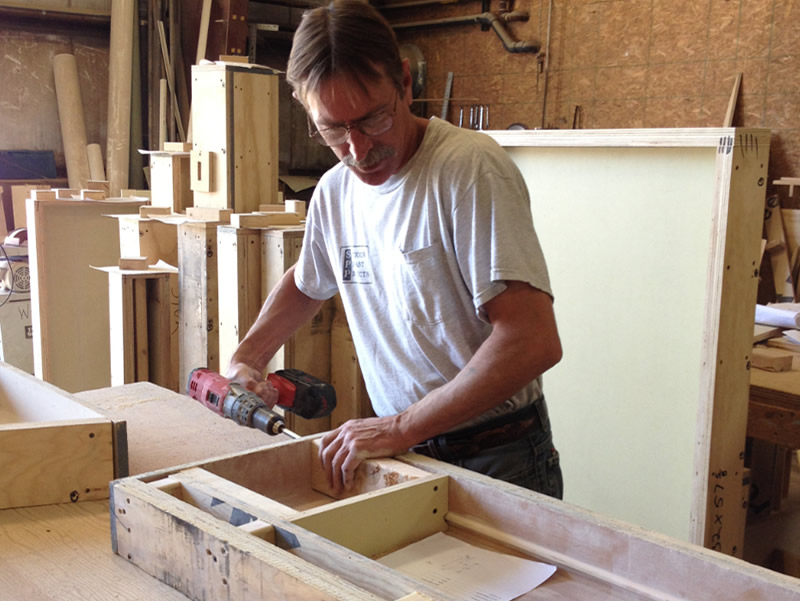
3-A. Tom Fletcher builds wood molds according to shop drawings.
|
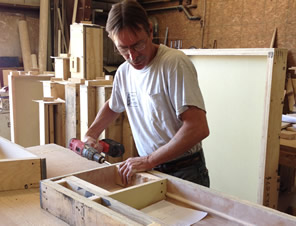
3-B. Tom Fletcher builds wood molds according to shop drawings. |
4. Tom builds a mold from wood.
|
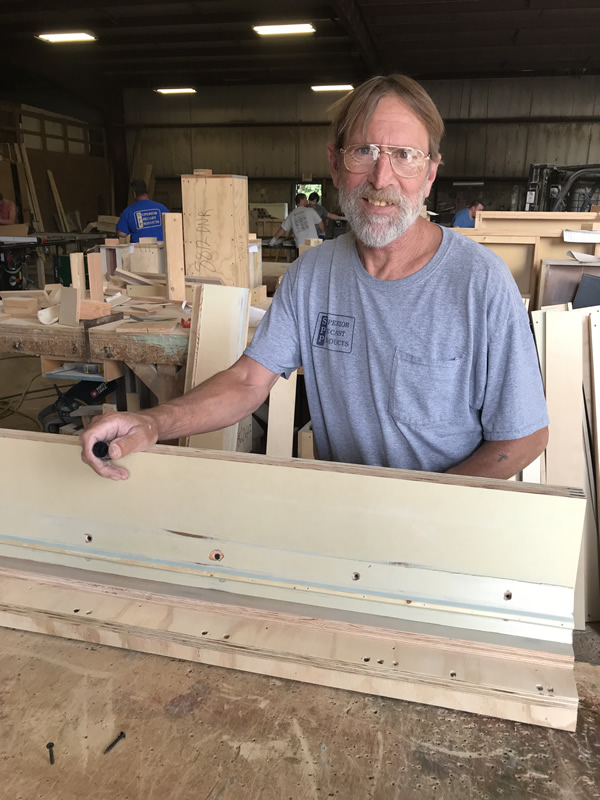
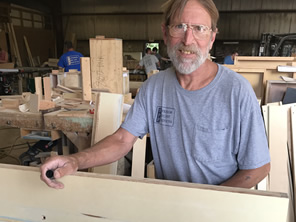
5. John VanderMeer creates a mold using wood
and steel. |
DRY
CAST
|
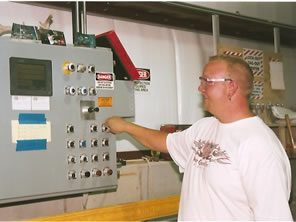
6. Production foreman John Echtinaw
controls the state-of-the-art computerized batching
system, which mixes sand, cement, pigments, admixtures
for six standard and numerous custom blends.
|
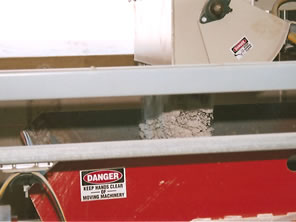
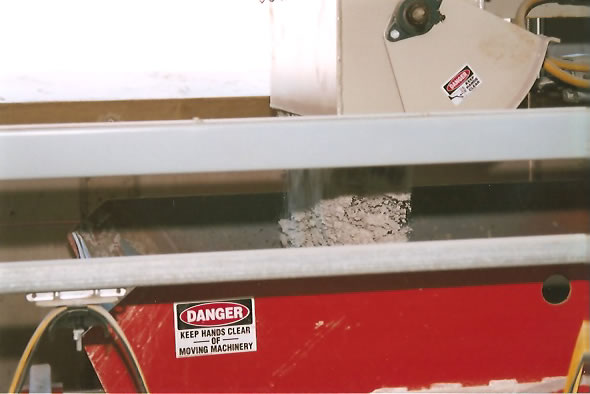
7.The computer automated batching
system controls the precise amount of ingredients
dropped into carts to be carried to the mixer. |
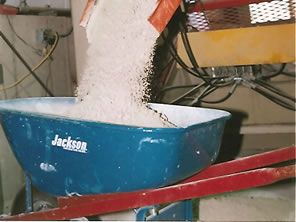
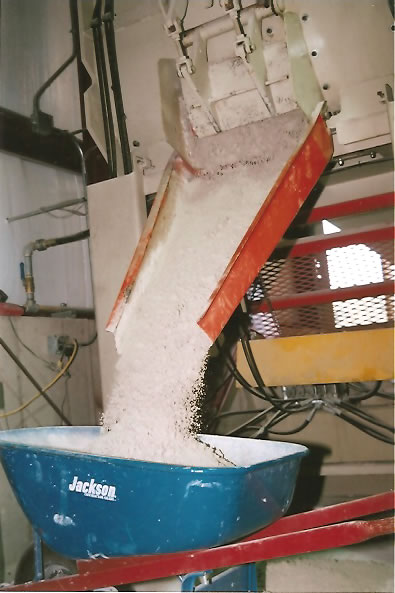
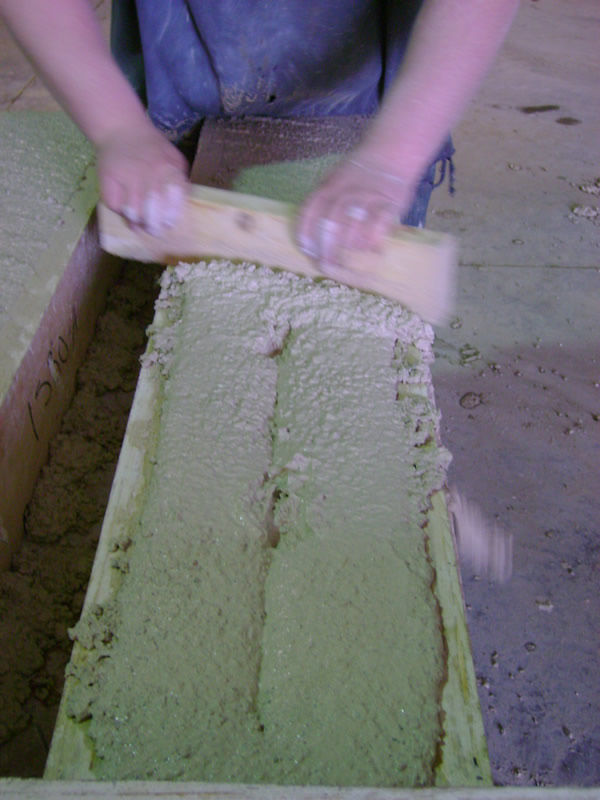
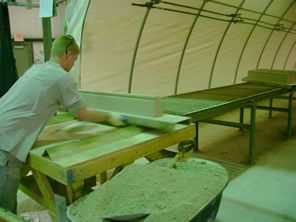
8. The zero-slump concrete is dropped
from the mixer into wheelbarrows. |
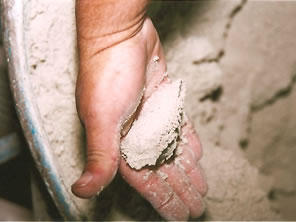
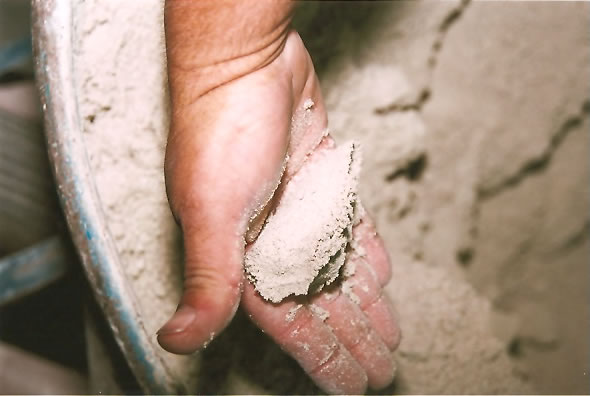
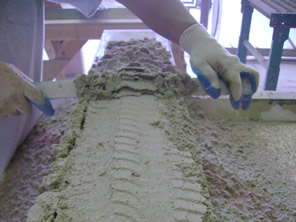
9. A proper mixture should adhere
to itself and form a ball, like in this example of
zero-slump concrete. |
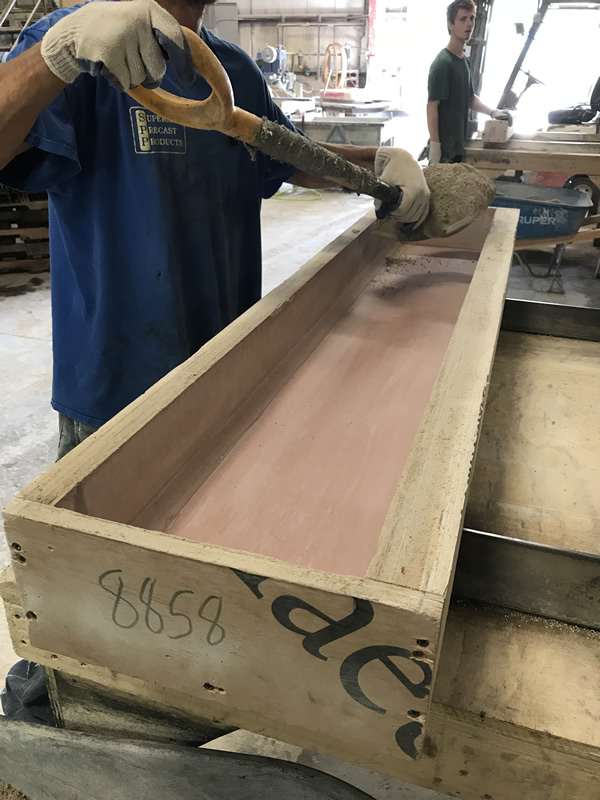
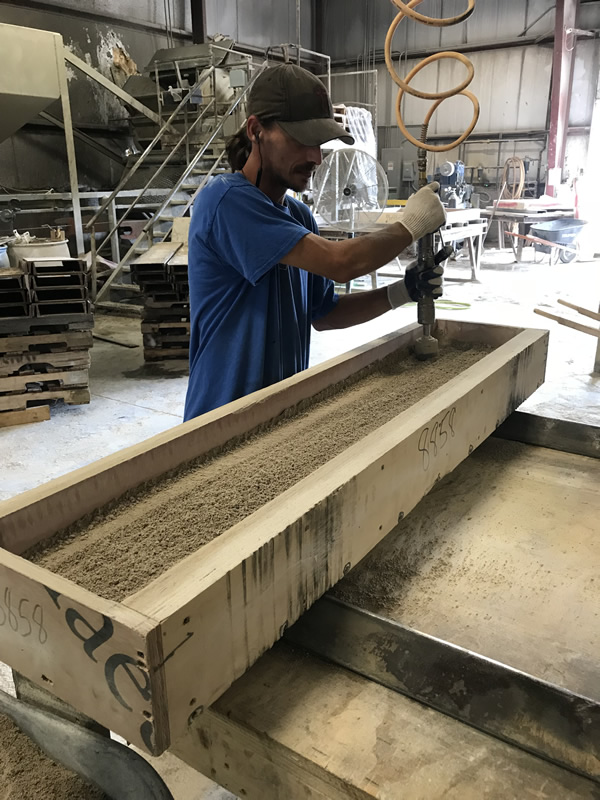
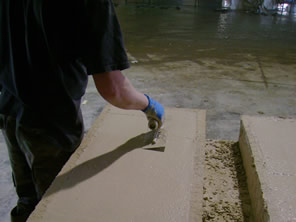
10-A. Carl Carlin fills his
mold with zero-slump concrete to be pounded.
|
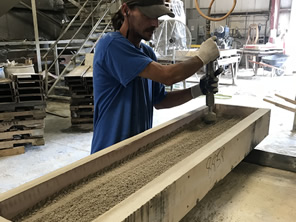
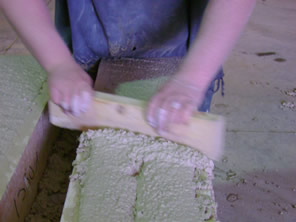
10-B. He then uses a sand-rammer
to compact the zero-slump concrete. This process
is repeated in equal layers until the mold is completely
filled. |
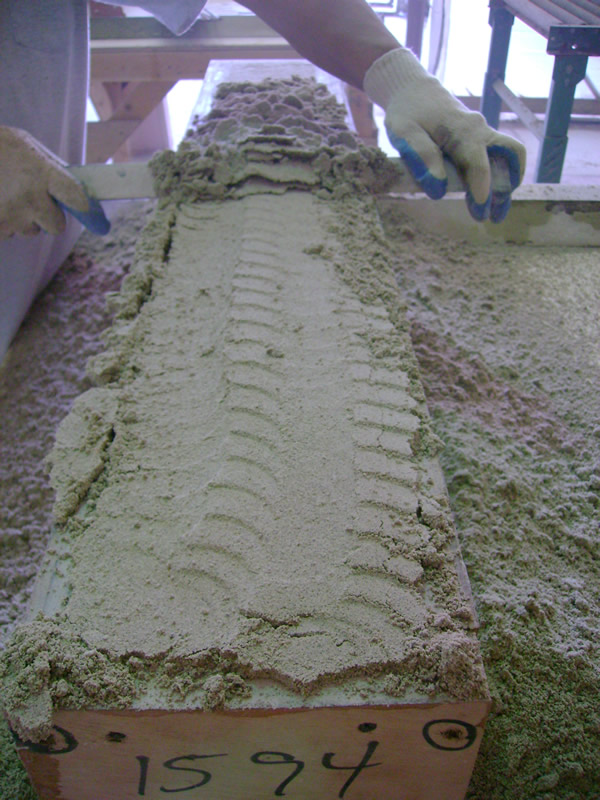
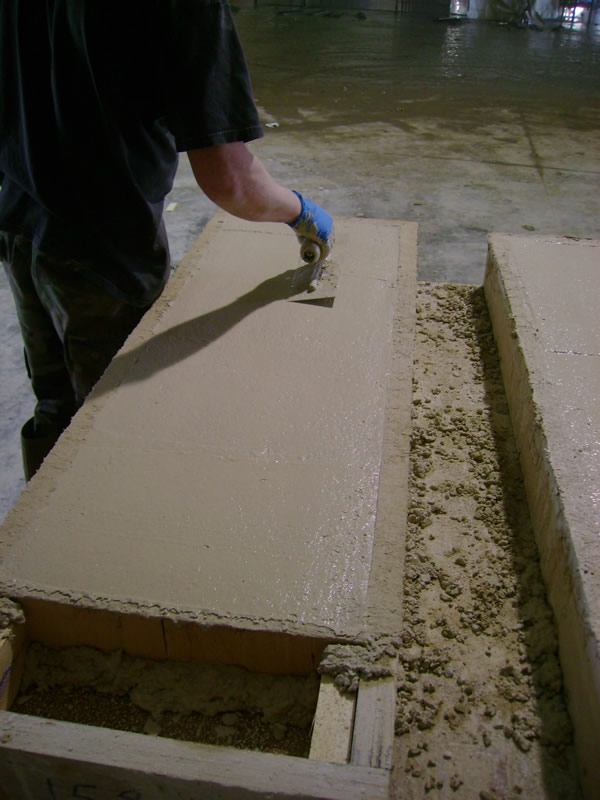
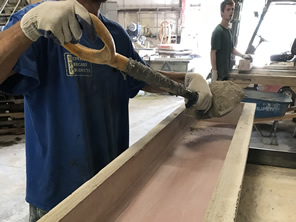
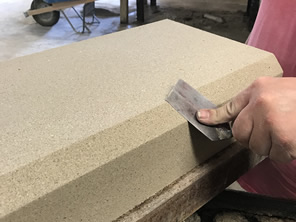
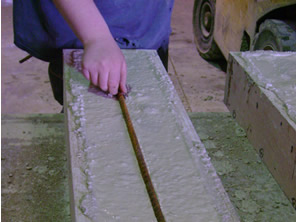
10-C. Then he screeds the mold to
remove all the excess concrete. |
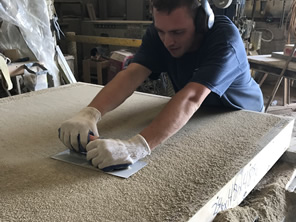
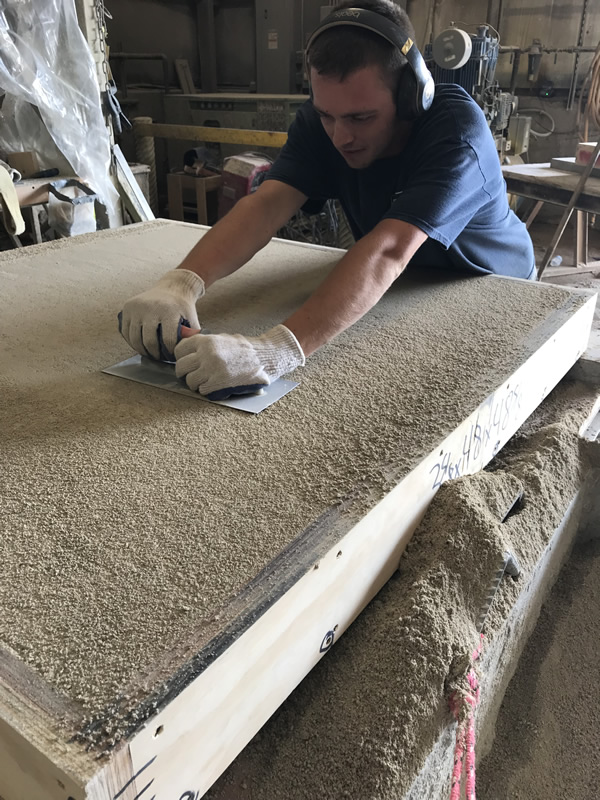
10-D. A trowel is used to smooth
the top out. |
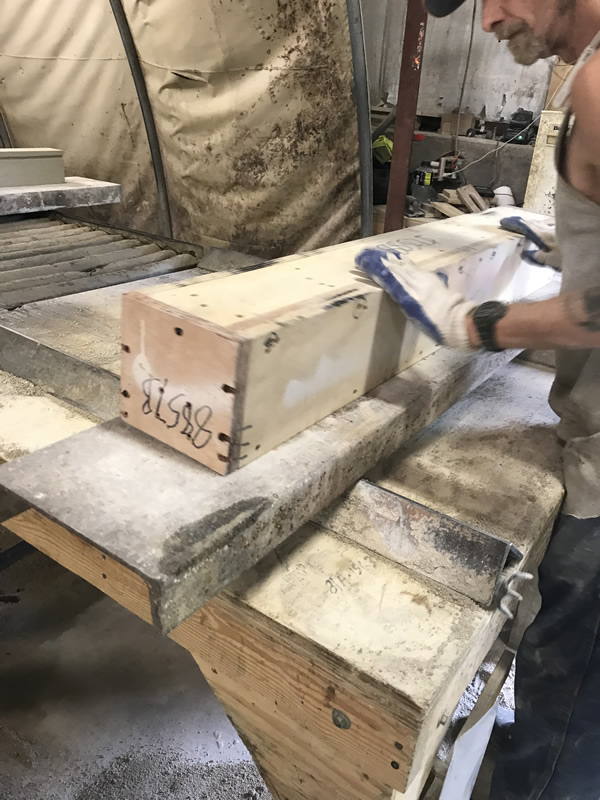
10-E. The mold is flipped upside
down onto a steel pallet.
|
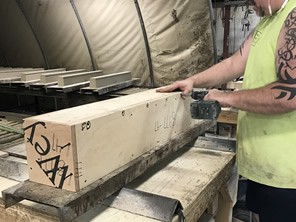
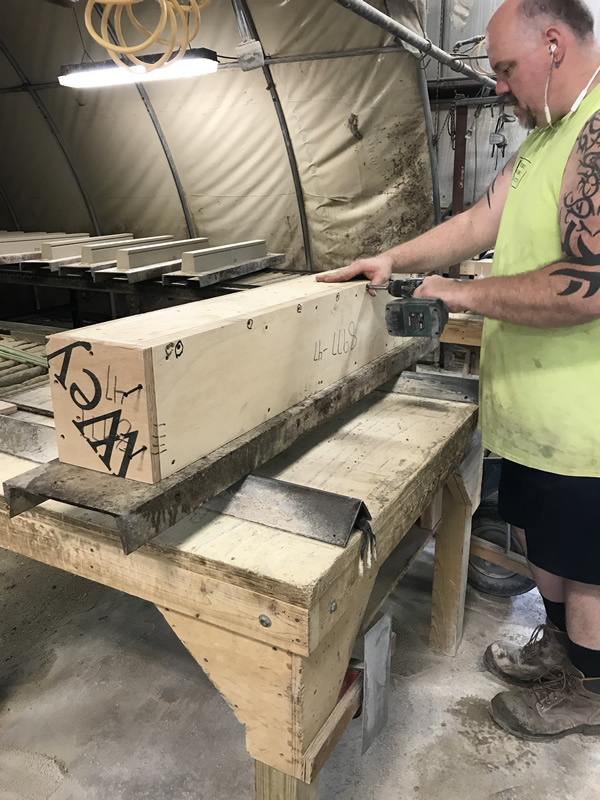
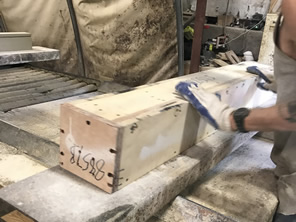
10-F. Screws are removed so that
the mold can be taken apart and removed from the
concrete piece. |
10-G. Screws are removed so that
the mold can be taken apart and removed from the
concrete piece. |
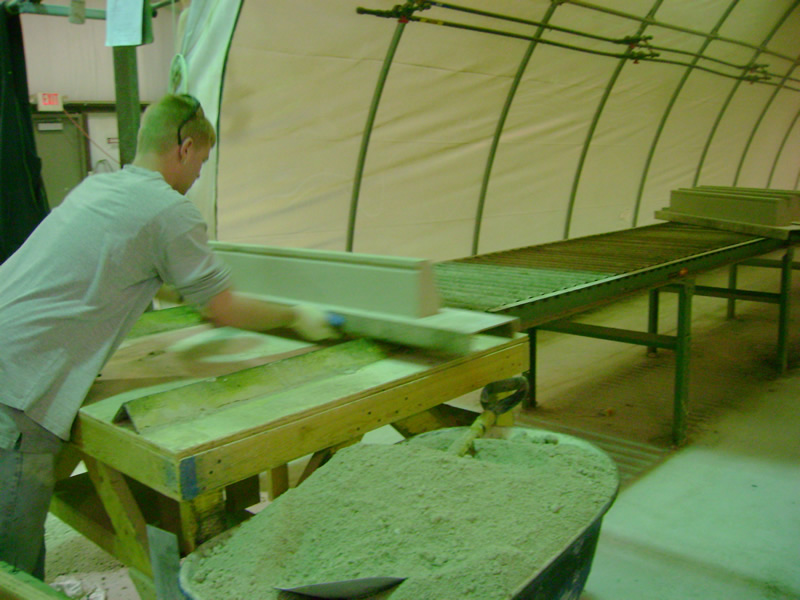
11. The steel pallets are then pushed
down a set of rollers and into the kiln. |
12. Margin trowels are used to fix
any imperfections in the piece.
|
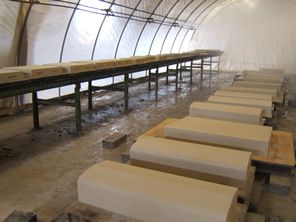
13. Pieces are left in the kiln
overnight for curing. |
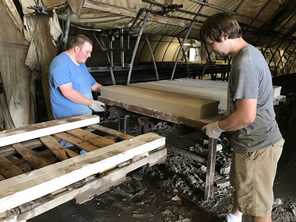
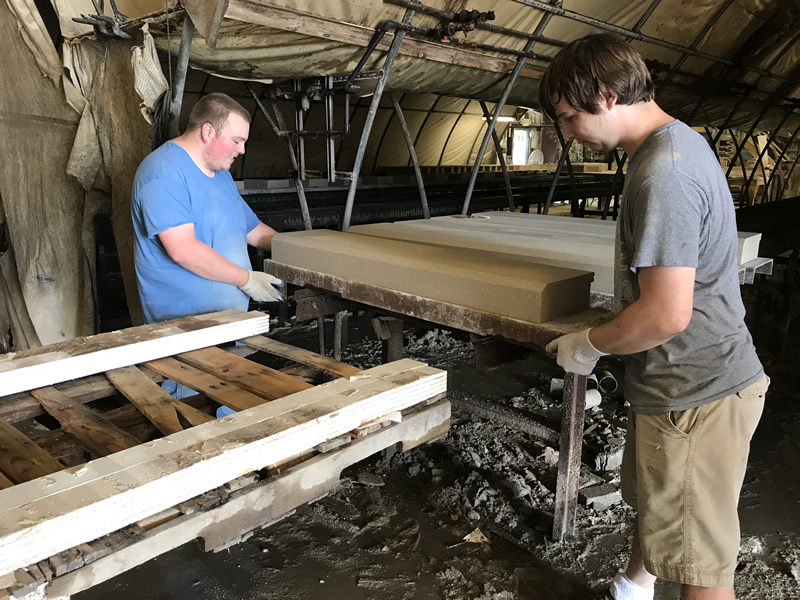
14. In the mornings, the product
is stripped from the kiln. Pieces are removed from
their steel pallets and placed on wooden pallets
with dry wall. |
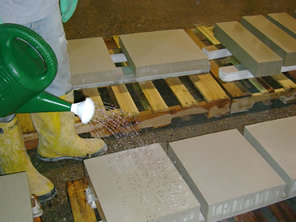
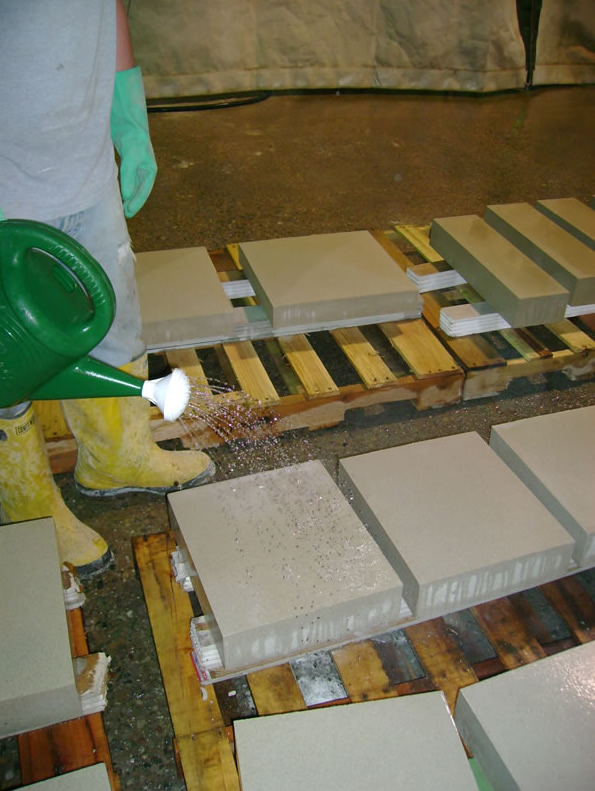
15. Pieces are washed with muriatic
acid and water to remove the top layer of cement. |
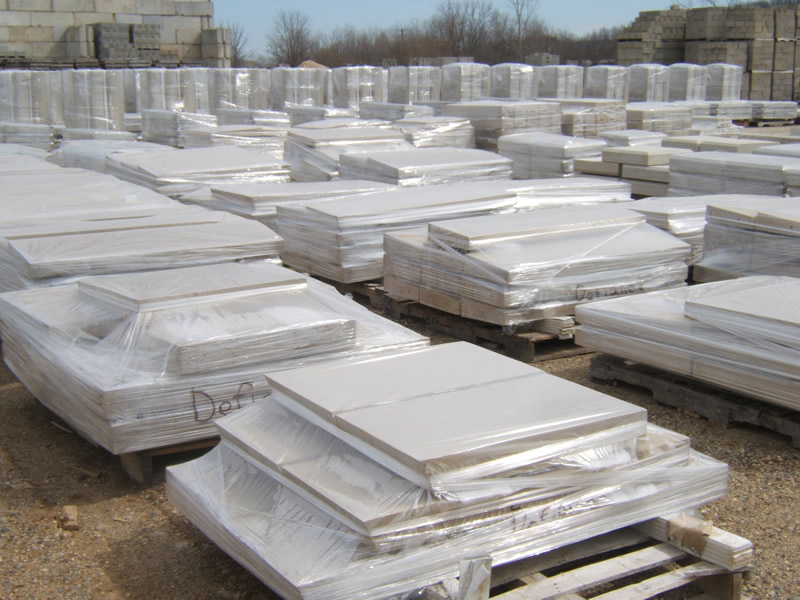
16. After washing, pieces are
stacked together on pallets, wrapped with plastic
for protection and labeled according to the job it
was made for. |
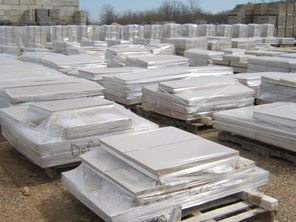
17. After product is packaged,
it is stored in the yard until shipment.
|

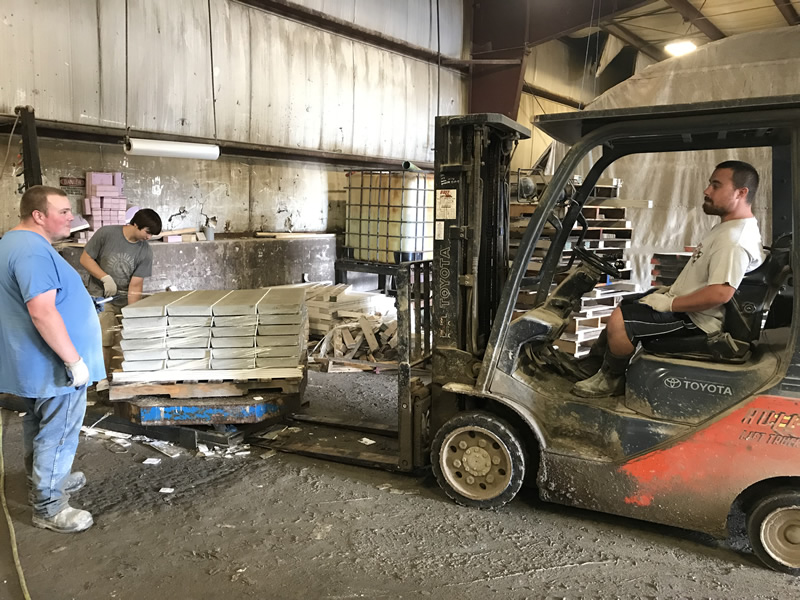
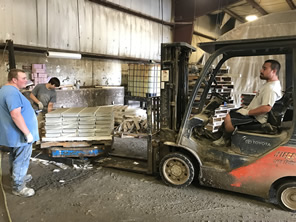
18-A. Product is loaded onto trucks
for shipment to a job site. |
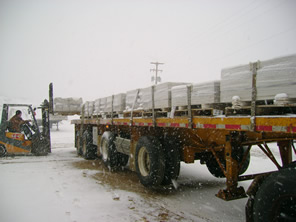
18-B. Product is loaded onto trucks
for shipment to a job site. |

19. Even Brian gets in on the fun. |
|
ARCHITECTURAL PRECAST
|

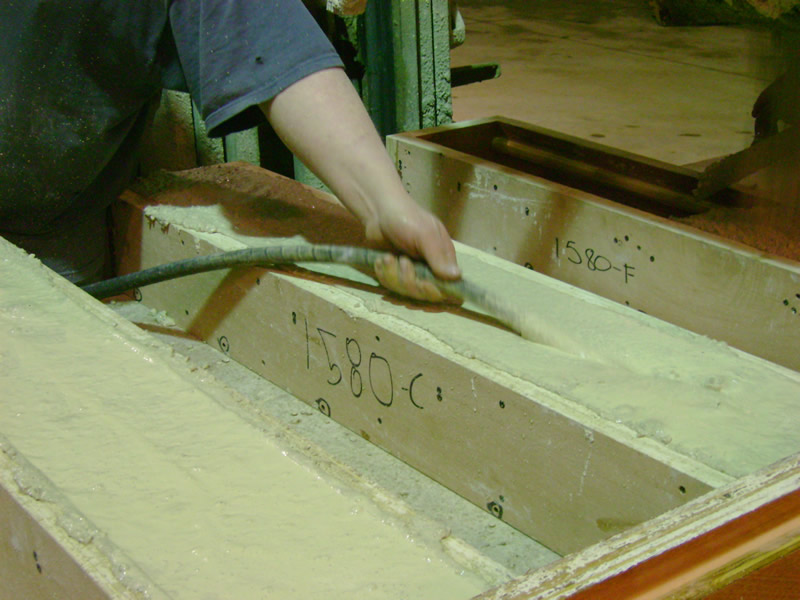
20-A. 7” slump concrete
is poured from the hopper into the mold.
|

20-B. A vibrator is used to consolidate
the concrete. |
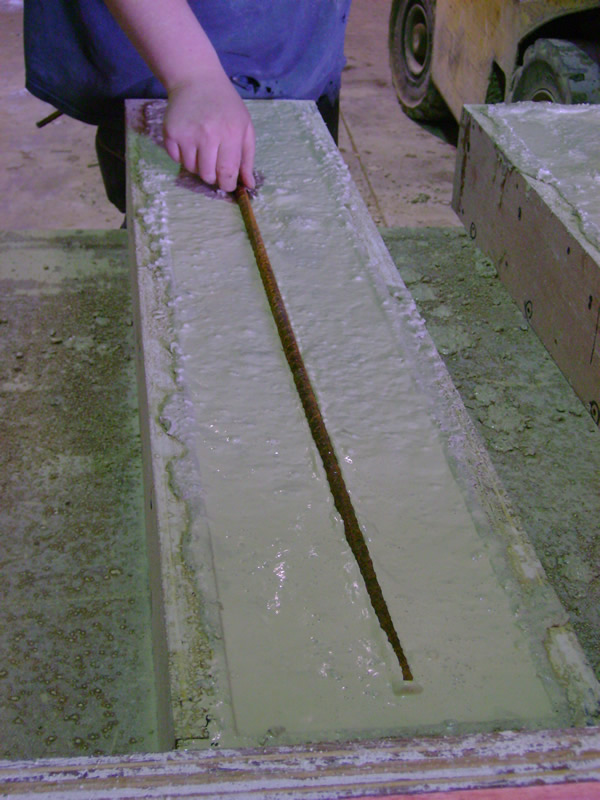
20-C. Re-rod is placed in the concrete
for reinforcement. |
20-D. The concrete is screed to
ensure proper height. |
20-E. A trowel is used to
finish the surface.
|
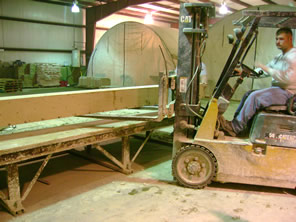
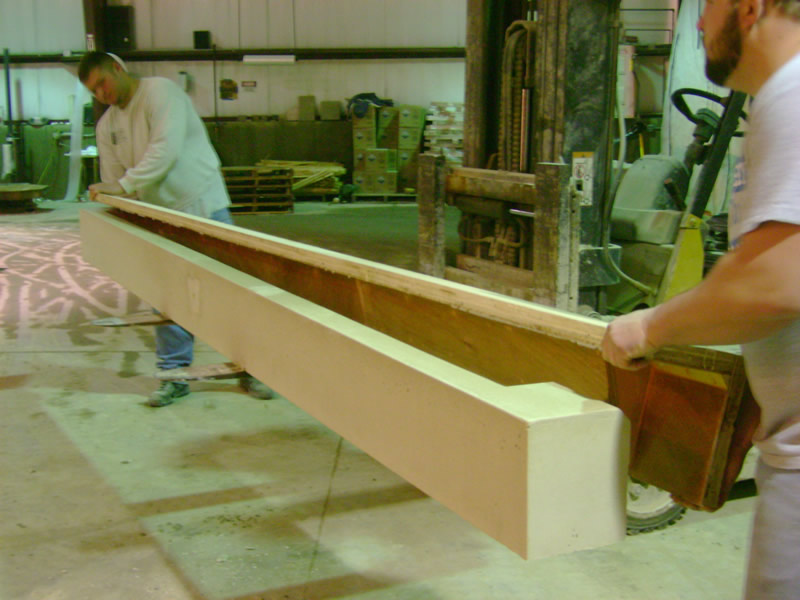
20-F. Forklifts are used to lift
pieces off pouring tables. |
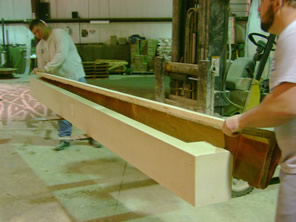
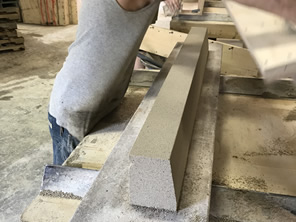
20-G. The wood mold is removed
to reveal the finished product. |
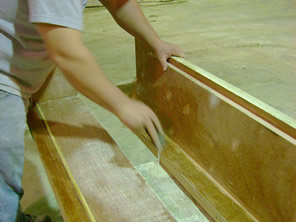
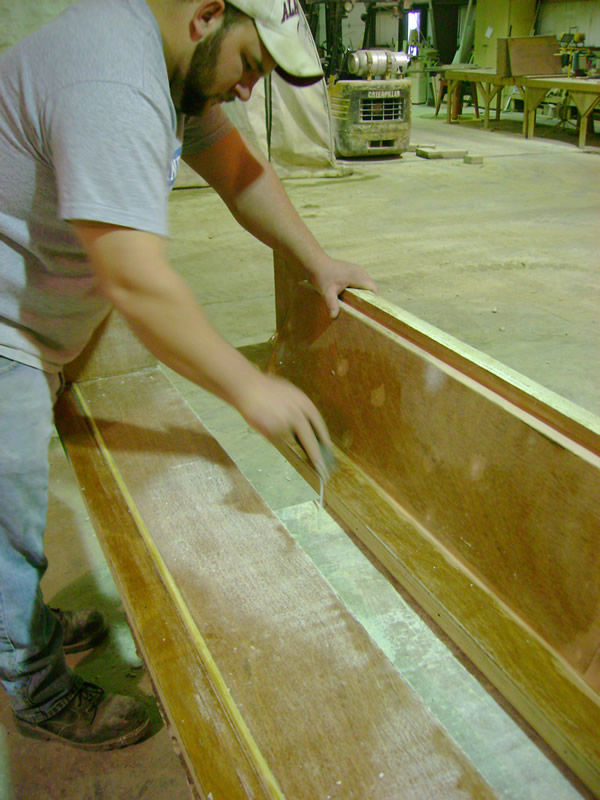
20-H. The wood mold is cleaned, oiled
and re-assembled for the next pour. |